
Milkweed Seed Germination
To get a jumpstart on summer, we like to germinate our milkweed seeds indoors before planting them outside after the last frost date. Why start so early? Because we forgot to plant seeds outside in the late fall! The advantage of growing your own milkweed is to avoid having to buy expensive, nursery grown plants with limited selection and possible exposure to pesticides. And, you can grow native varieties that are not widely available for purchase. Today’s blog covers simple techniques you can use to quickly and easily germinate Common Milkweed (Asclepias syriaca) and other natives that require cold moist startification. Visit our store to see the types of seeds we have in stock.
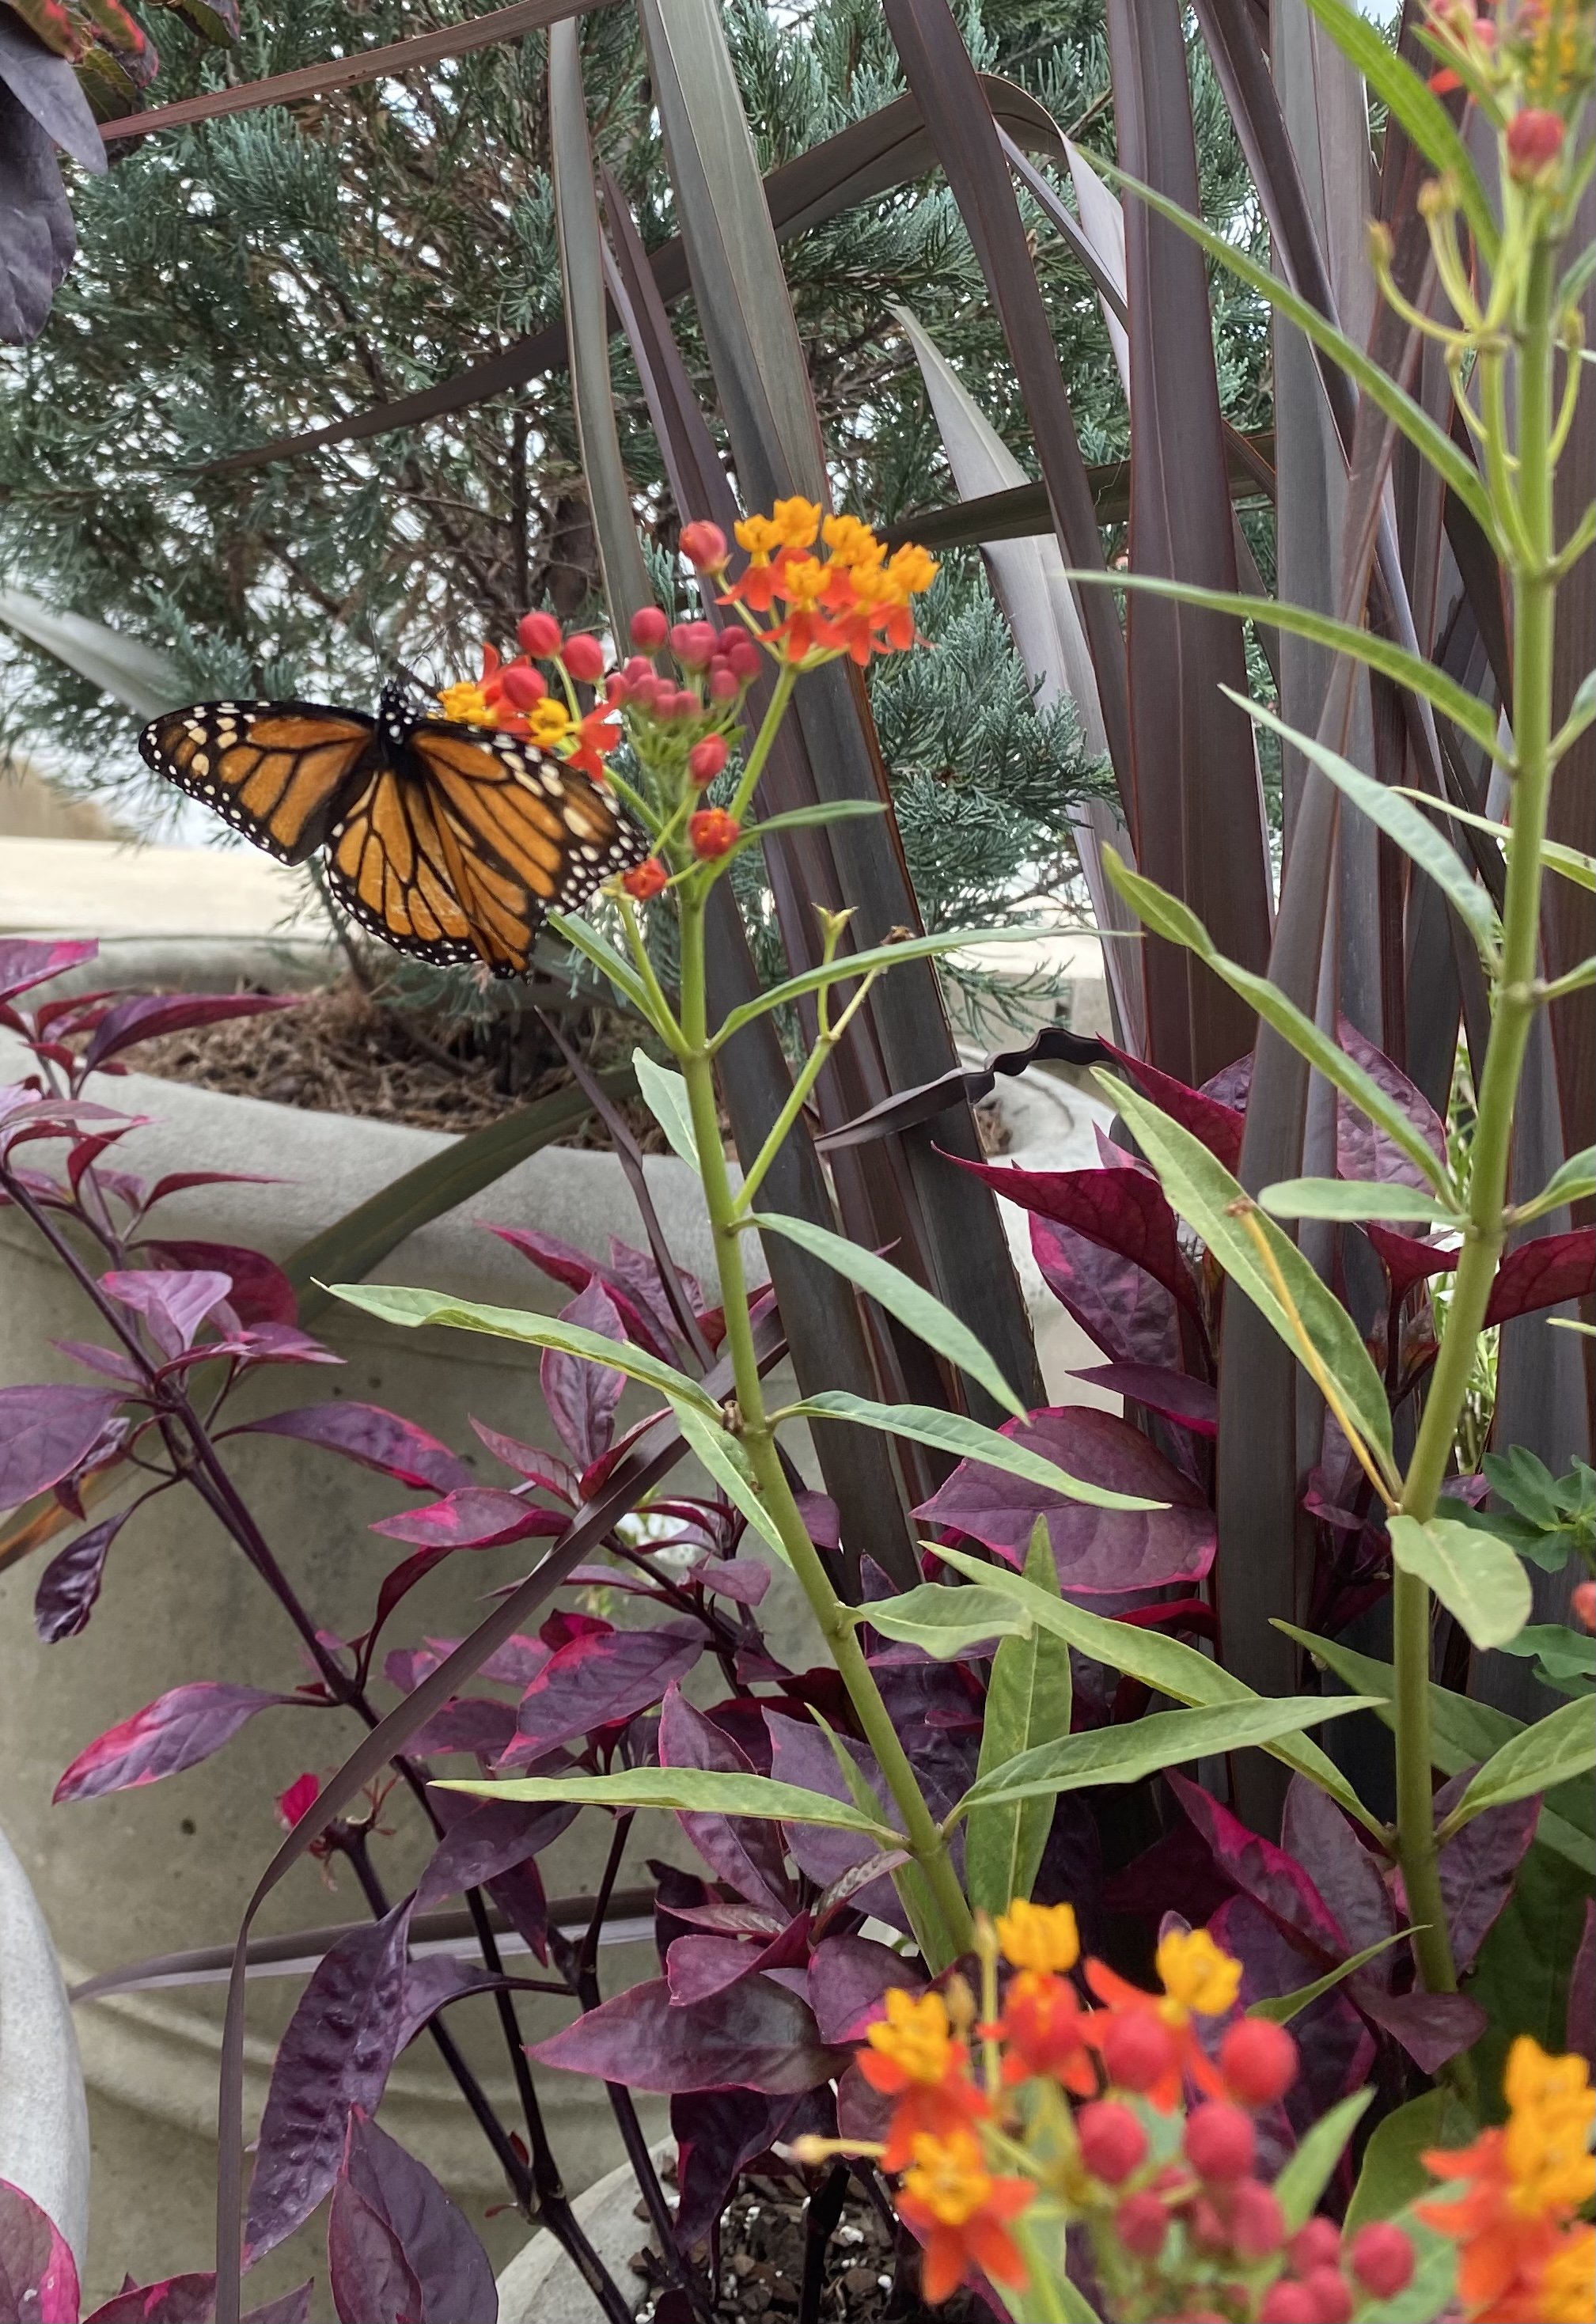
Tropical milkweed growing in a large container.
For timing our plantings, we plan back from our zone’s last frost date, allowing for twelve weeks total, which breaks down as follows: 4 weeks for stratification (detailed below), one week for germination, and 6-8 weeks of growing time before transplanting out. We are in zone 7 with a typical last frost date of May 1st, so we start the indoor planting process in February.
Fresh cut Hairy Balls milkweed being displayed in a container.
When you search online and in seed catalogs, there is a huge range of advice on how to germinate milkweed seeds, and it can all be a bit overwhelming. To save you time and effort, we’ve dug through a lot of material to find a simple, successful planting technique so you achieve the results you desire.

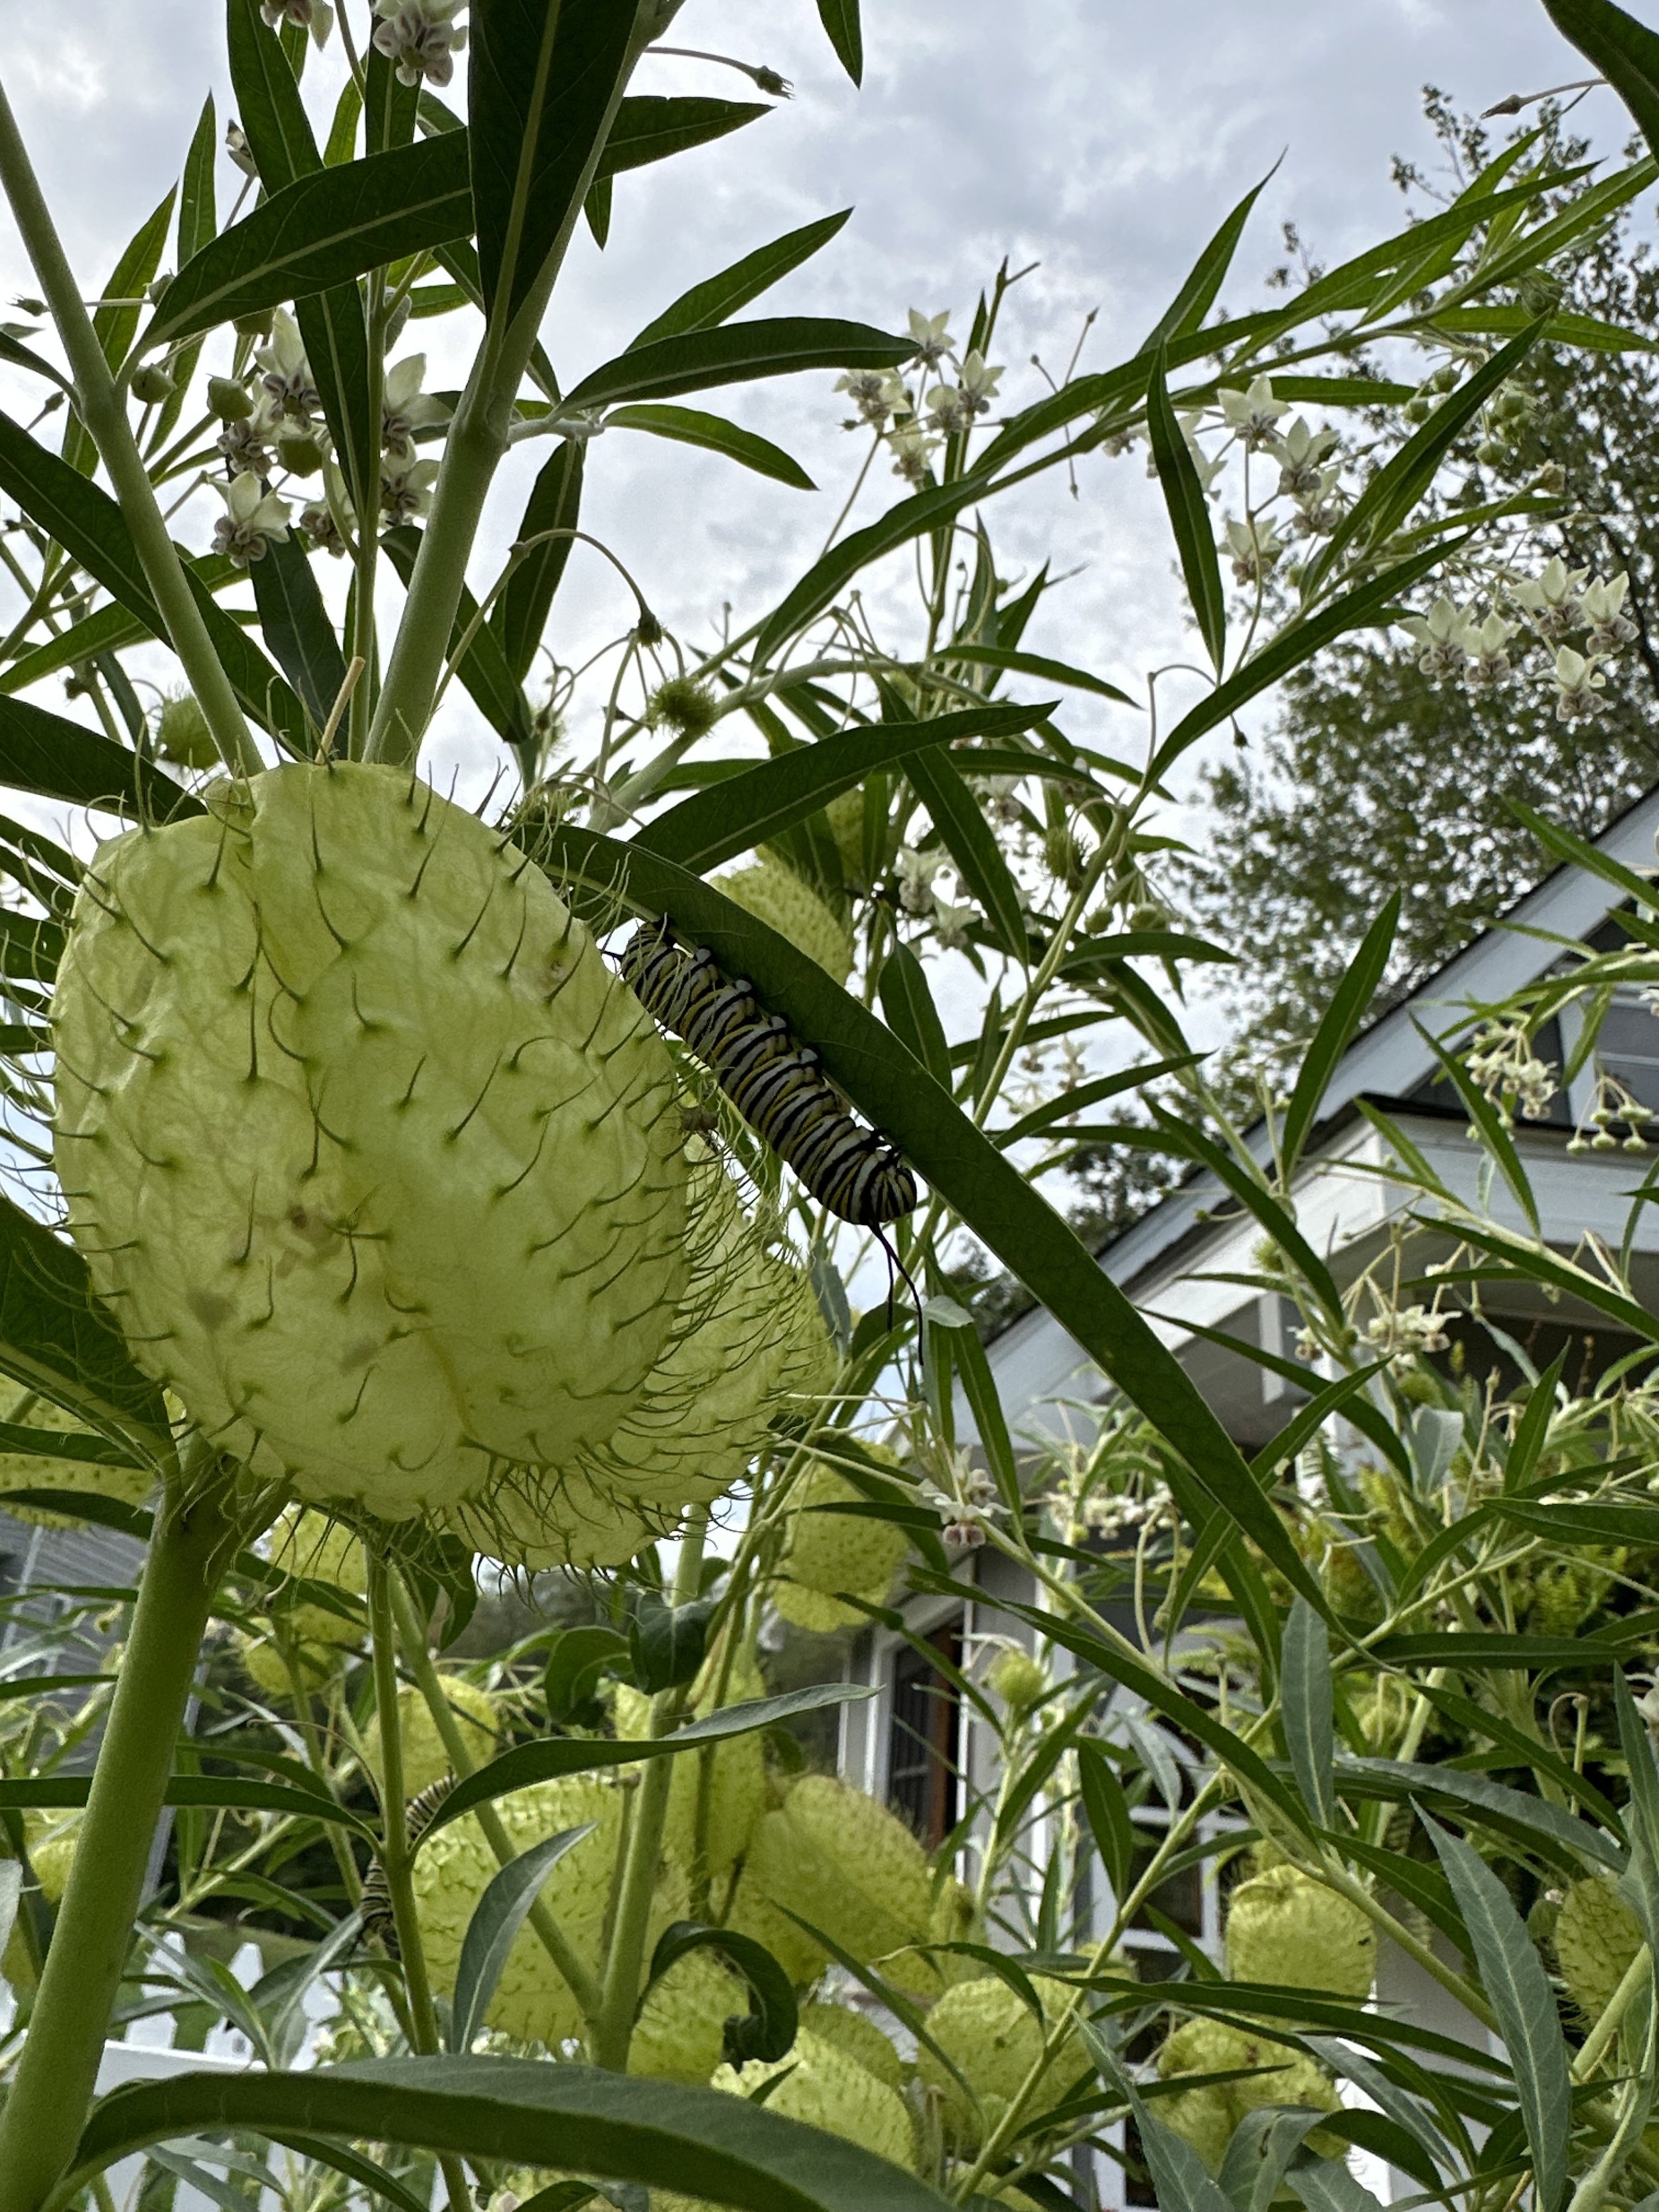
Common milkweed being grown in Suzanne’s “Monarch Waystation” meadow.
We start by using Cold Moist Stratification - Here are the steps we recommend:
Step 1: Label a small container with a sharpie or painters tape. We use a 128 cell planting flat cut into small pieces that will fit easily into a one gallon ziplock bag. Fill the container 2/3 full with moist seed starting mix. Put three to five seeds on top of the soil in each container or plant cell. Lightly cover the seed with vermiculite, and place the seeds into the sealed bag and place in your refrigerator for four weeks.

Step 2: After four weeks (or more), remove the pots from the refrigerator and place them on a heat mat. Use the plastic bag or a humidity dome to keep the seeds moist while they germinate. As soon as some seeds start to germinate, go to step 3.
Step 3: Remove the humidity dome or plastic bag and place your newly germinated seeds under a grow light (preferred) or in a sunny windowsill (optional).
Step 4: Bottom water the seeds for 2-3 weeks, keeping them moist but not waterlogged. When your plants have 2 sets of true leaves, proceed to the transplanting step below.

Step 5: Transplant your milkweed seedlings to a larger, deeper pot or planting cell. We use potting soil for this step. However, be aware milkweed plants thrive in native soil (average to poor), and they do not like be to root bound. So, after 1-2 more weeks, begin to harden your plants outdoors as they will eventually become unhappy.
Step 6: Harden off your plants and plant them in large pots, or directly into your garden or wildflower meadow, after all danger of frost has passed. Don’t wait too long to put them in the ground for the reasons noted above.
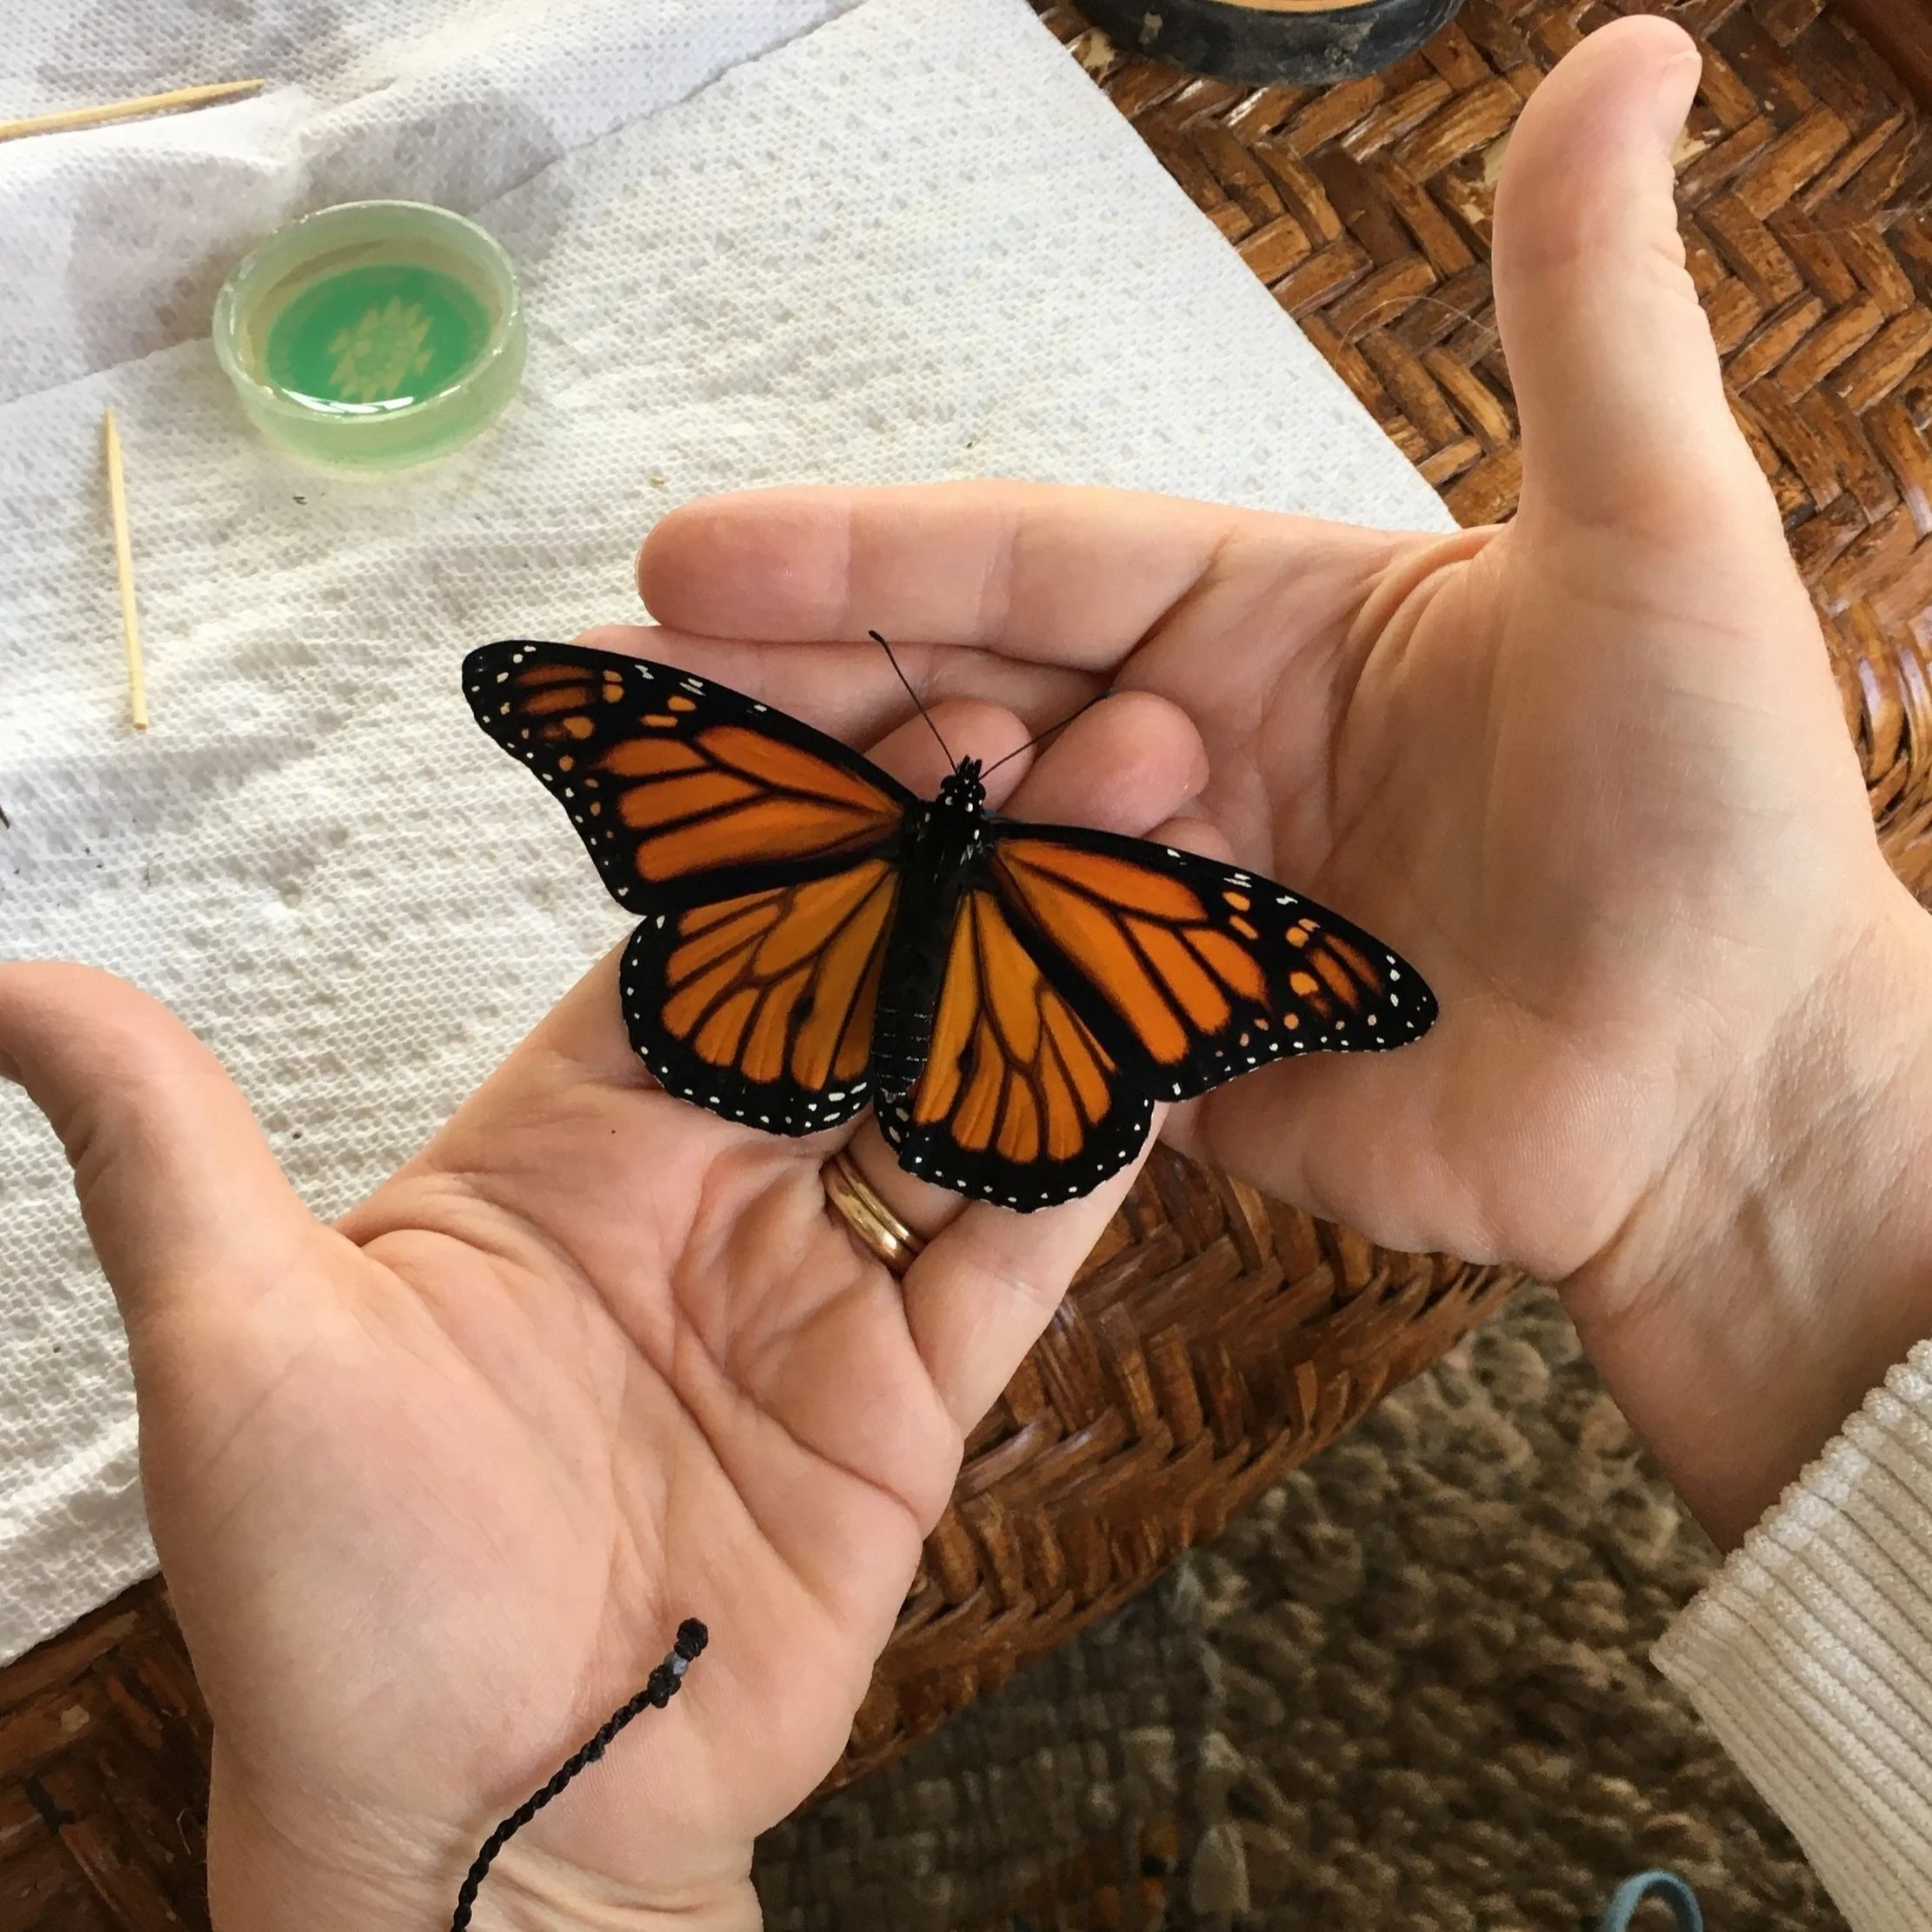
A newly hatched male Monarch butterfly.
That’s it! Monarch butterfly populations have declined by 90% over the past 15 years, so thank you for doing your part to help Monarch butterflies thrive where you live. Want even more Monarchs? Plant pollinator flowers somewhere near your milkweed plants to attract more butterflies. Comment below and let us know how the germination process worked for you.